
To preserve dates and captions when scanning old photos, capture the backs and surrounding notes, then keep that information linked to each front image. Before scanning begins, agree on how front-and-back images will be matched and whether dates and descriptions will be delivered as a separate list, embedded metadata, or both.
Keep the story with the picture
A beautiful scan cannot tell you that the child in the photograph is your grandmother or that the backyard was in Chandler before the neighborhood changed. That information may exist only in pencil on the back, beneath an album page, or on the envelope holding the negatives.
The goal is not to research every photograph before you have it scanned. It is to capture the clues you already have so they do not become separated from the pictures. For a Phoenix family collection spread across several boxes, even a small reference system can save hours of detective work later.
Capture information where it actually lives
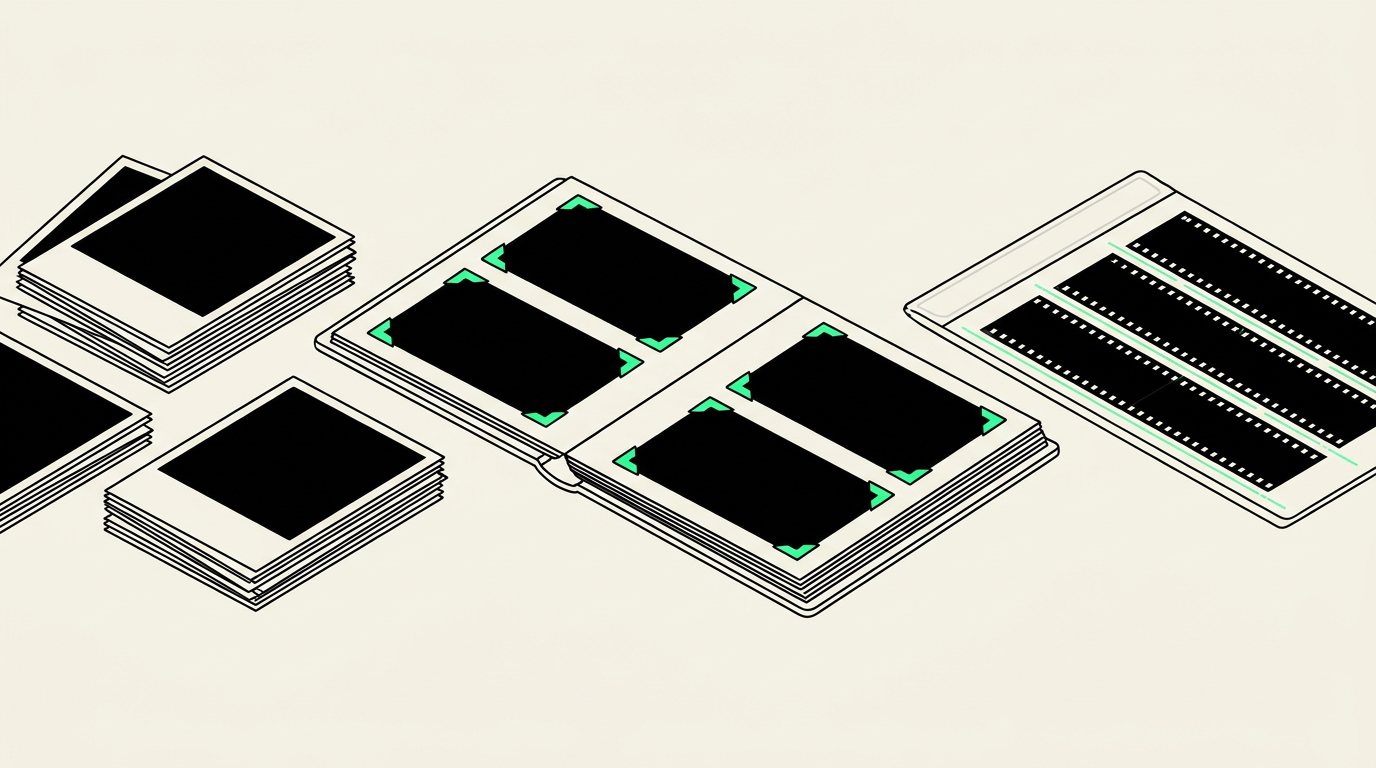
Loose photo prints
Check the backs for names, dates, locations, photographer stamps, and messages. Request back scans for photographs with meaningful information, and confirm how those scans will be paired with the fronts. A back scan preserves the original handwriting, which a typed caption alone cannot do.
Do not write new identifiers directly on the photographs or attach sticky notes to their surfaces. Use separate paper dividers or an item list to identify groups. If a faded note is hard to read, preserve its image rather than guessing at the wording.
Photo albums and scrapbooks
Photograph each relevant album page before anything is moved. Include the full arrangement, captions, and page number if present. These reference images are not substitutes for detailed scans, but they record which caption belongs to which picture.
Do not peel up stuck prints just to look for writing underneath. Flag the page for discussion instead. For loose photographs held by corner mounts, preserve their positions in a page reference image before considering removal.
35mm slides and negatives
Slide mounts may carry handwritten locations, frame numbers, and processing dates. A scan of the picture area usually will not include the mount, so ask how its annotations can be recorded separately. Photograph slide-carousel labels and preserve the original order where it provides useful context.
For negatives, keep processing envelopes and sleeve notes with their corresponding strips. Film edge numbers can help connect frames to prints, but they generally are not exposure dates. Do not mark or stick labels onto the film itself.
Separate the date taken from other dates
A date printed or stamped on an old photograph is not automatically the day the picture was taken. It might be a processing date, a reprint date, or a later annotation. A roll could have stayed in a camera for months before developing.
Digital files introduce another date: when the scan was created. Depending on the software, a photo app may display that date or a filesystem timestamp rather than the historical date. Uploading a scan does not reliably tell an app when the original scene happened.
- Known date: Record the exact date when supported by a reliable caption or other evidence.
- Approximate date: Use wording such as “about 1968” or “summer 1972” in the description.
- Date range: Keep “1965–1967” as a range rather than inventing a precise day.
- Processing date: Identify it explicitly as processing information.
If an app requires a full date for sorting, document any placeholder you choose. A January 1 entry should not quietly become a supposed birthday or wedding date.
Use a simple record that survives changing software
Give each photograph a stable identifier and use it to connect the front scan, back scan, and description. For example, item 0142 might have a front image, a back image, and one row in a spreadsheet. The identifier matters more than an elaborate naming system.
A practical spreadsheet can include:
- Item identifier and matching filenames
- Names, preferably left to right when known
- Location and event
- Date or estimated date range
- The original caption, transcribed faithfully
- Who supplied additional information and what remains uncertain
Embedded metadata can also store descriptions inside supported image files. However, apps differ in which fields they display or retain during export. Keep the separate record and original back scans even if you add metadata. Review automated handwriting transcriptions carefully, especially surnames and place names.
Agree on the details before dropping off your collection
Ask whether back scanning, album reference images, mount photography, transcription, or metadata entry are available and separately priced. These are distinct tasks; ordering photo scanning does not automatically include them. Request a small sample showing how the files will connect before committing a large collection.
Phoenix Scanning offers drop-off and local pickup in Chandler, AZ 85224, for East Valley and Phoenix-area customers, plus free prepaid shipping labels for mail-in customers nationwide. Review the digitizing services, then use the quote builder to describe your collection and caption-preservation needs. Call (480) 272-2447 to discuss the details before sending originals.
Common questions
Should I scan the back of every photo?
Prioritize backs with names, dates, messages, or useful stamps. Blank backs usually add little value unless you need a complete front-and-back record.
Will scanned photos automatically show the original date taken?
No. Photo apps may show the scan date unless a historical date is added through supported metadata or the app’s date controls.
What should I do if I only know the approximate year?
Record the estimate honestly, such as “about 1970,” and note the evidence behind it. If software requires an exact date, document that your chosen date is a placeholder.
Can I preserve captions without embedding metadata?
Yes. Keep back scans and a spreadsheet or text document linked to the front images by stable identifiers, and back them up together.